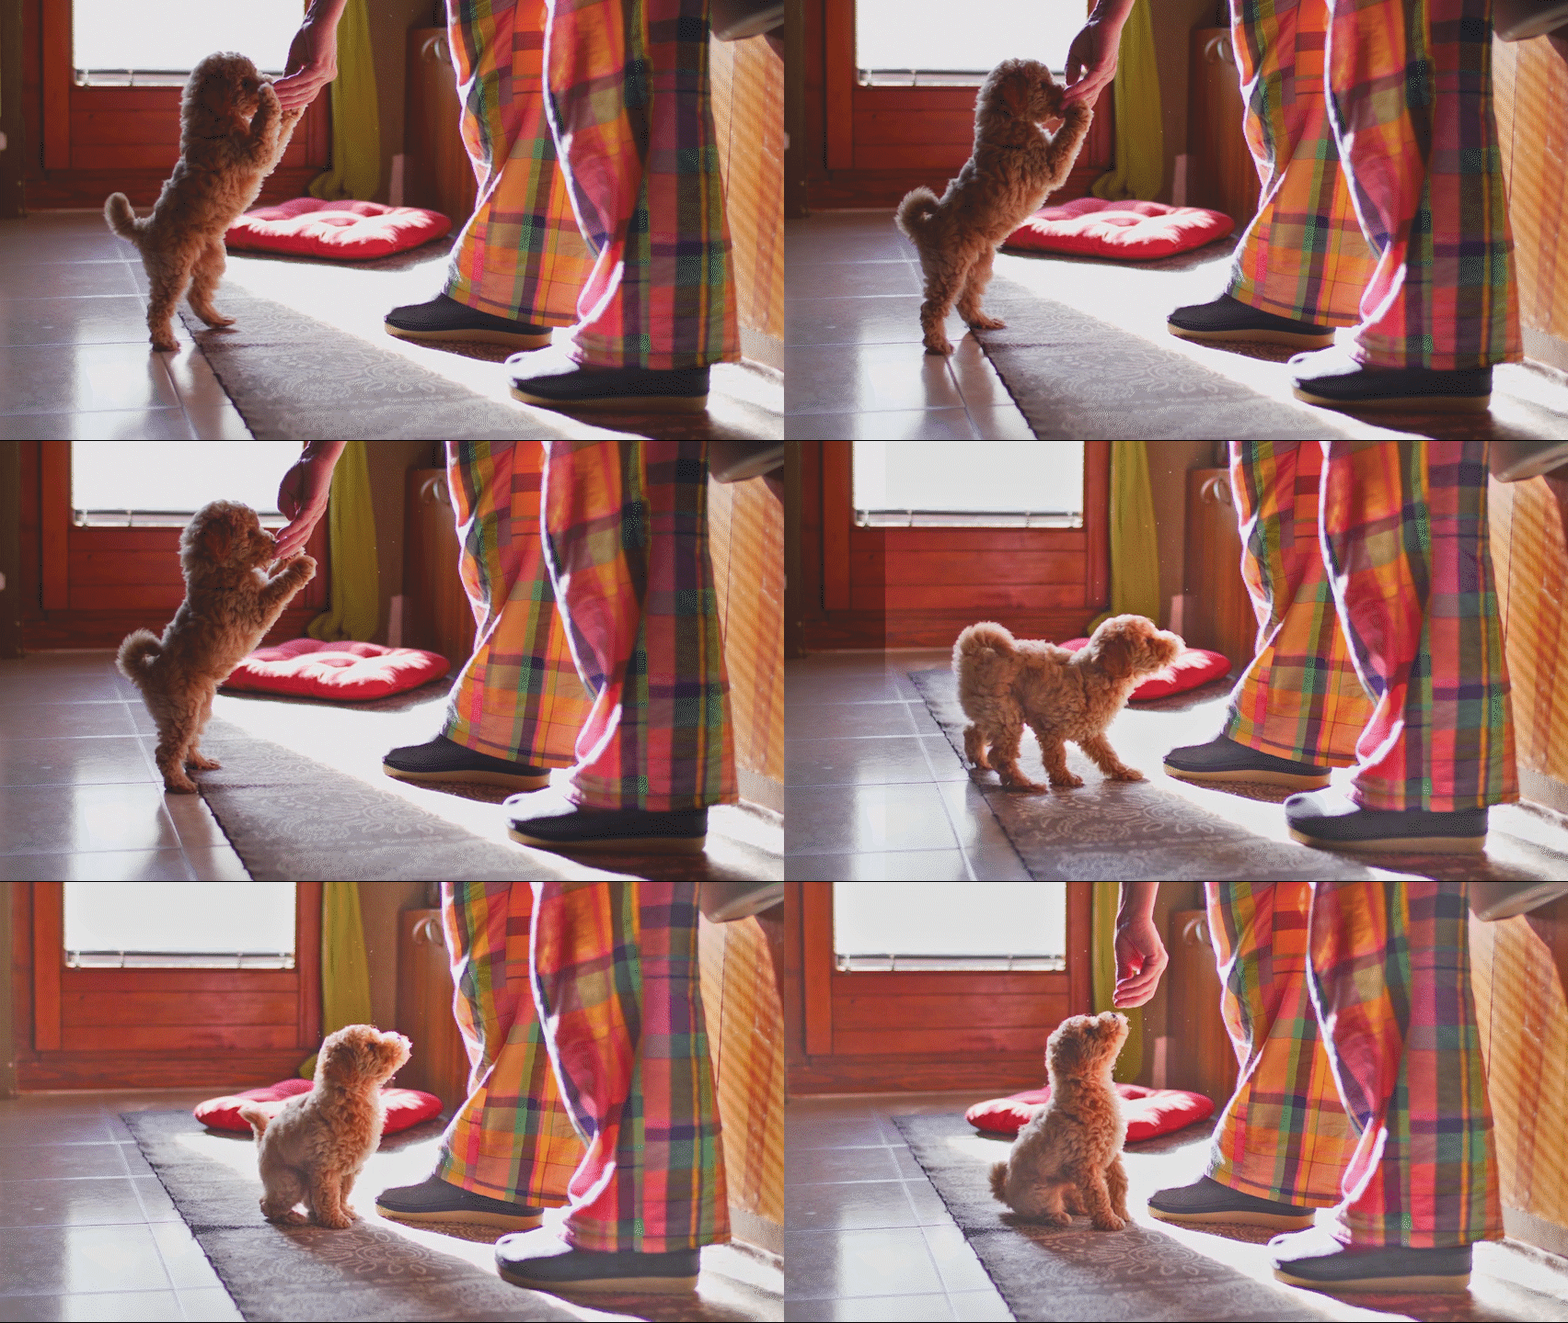
Adjust Shadows & Highlights guided edit lets you adjust an over or under-exposed video using Shadow/Highlight effect and easily bring out hidden details in the lightest and darkest areas.


How will my videos look with this guided edit?


How to use Adjust Shadows & Highlights guided edit?
Start by adding your video clip


Select Guided > Basics > Adjust Shadows & Highlights . Click Add Media to add a new media. If you have already imported the media, select Project Assets to choose it. Ensure you only add one media. Drag-and-drop the clip to the Video 1 track on the timeline at play head position.
Apply Shadow/Highlight effect


Click the Effects icon on the right-side panel, select the Shadow/Highlight effect from the Advanced Adjustments category, and drag and drop it to the highlighted video clip.
Adjust the effect


In the Applied Effects settings for Shadow/Highlight, uncheck Auto Amounts. Then, do one of the following:
- Move the Shadow Amount and Highlight Amount sliders to adjust the amount of shadow and highlight, respectively.
- Choose More Options to make more precise adjustments.
- Select Auto Amounts to proceed with the automatic adjustments.
Compare the video before and after the effect


Toggle the eye icon to see how your video looks before and after the adjustment.
Click play to see the final result. To export the final output, select File > Export and Share. For information about various exports and share options available, see Export and share your videos.