Select Guided > Video Adjustments > Fix action cam footage.
Learn how to expertly trim, correct color, and fix lens distortions in your action cam footage.
The Guided mode offers a set of built-in guided edits, which take you sequentially through a series of steps to help you perform a specific editing task. This guided approach helps you easily learn Adobe Premiere Elements and turn your video clips into professionally edited movies.
To learn about other guided edits, see Guided mode.
Fix action cam footage


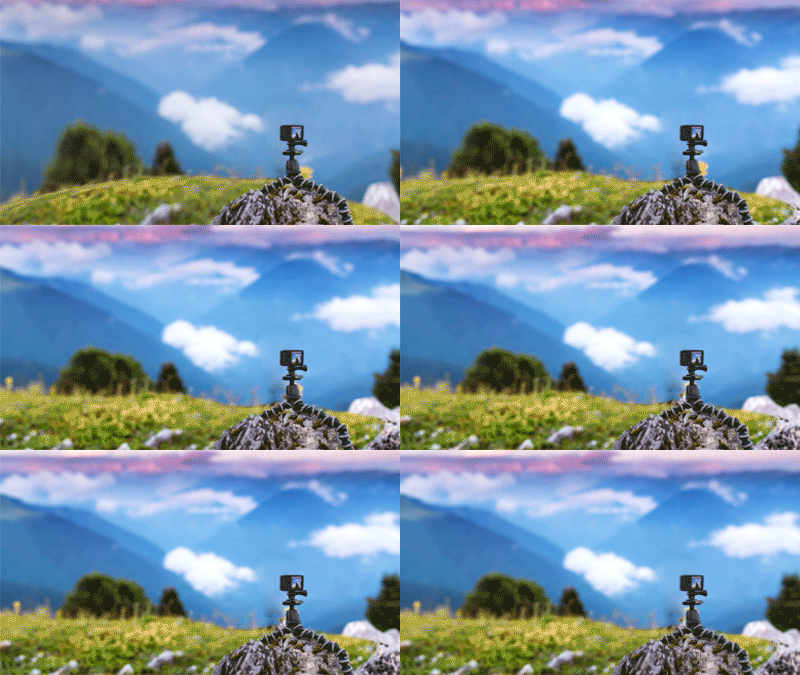
Use this guided edit to fix the video footages captured using action cameras like GoPro or Phantom. Quickly reduce the length of cam footage using Smart Trim, bring out those bright colors using Color Correction, and fix the fish eye bulge using Lens Distortion tool.
To fix action cam footage using this Guided edit, follow these steps:
-
-
Click Add media to import the video clip that you want to work with.
Ignore if the video clip is already present on the timeline.
-
Select the option to import media.
-
Select Smart Trim from the Tools menu.
Smart Trim automatically analyzes the clip and selects the best scenes based on one of the following three video presets.
People
Focuses on faces. Recommended for family event videos.
Action
Focuses on activity. Recommended for sports and dance videos. This preset is selected by default.
Mix
Focuses on combination of faces, activity, and camera motion. Recommended for travel and nature videos.
Select a different preset to auto-select the best scenes, if required.
-
Drag the slider to determine the number of scenes to be selected. Drag the slider to the left to select less number of scenes or to the right to select the maximum number of scenes.
-
Click Mark Manually to manually select scenes, if required.
NoteClick Reset to revert to the original clip and start over again.
-
Click Preview to see the expected result. Go back and make further edits, if required.
-
Click Export Merged to move the selected scenes to the timeline.
-
To fix the lens distortion in the clip, drag the Lens Distortion effect from the Effects panel onto the clip.
-
Drag the Curvature slider to the left to remove the fish-eye effect.
-
Select Color from the Adjustments panel and select the appropriate Hue, Lightness, and Saturation from the available presets.
-
Click Play to see the output.
NoteTry Shake Reduction to reduce the shakiness of your video.


