Before you begin
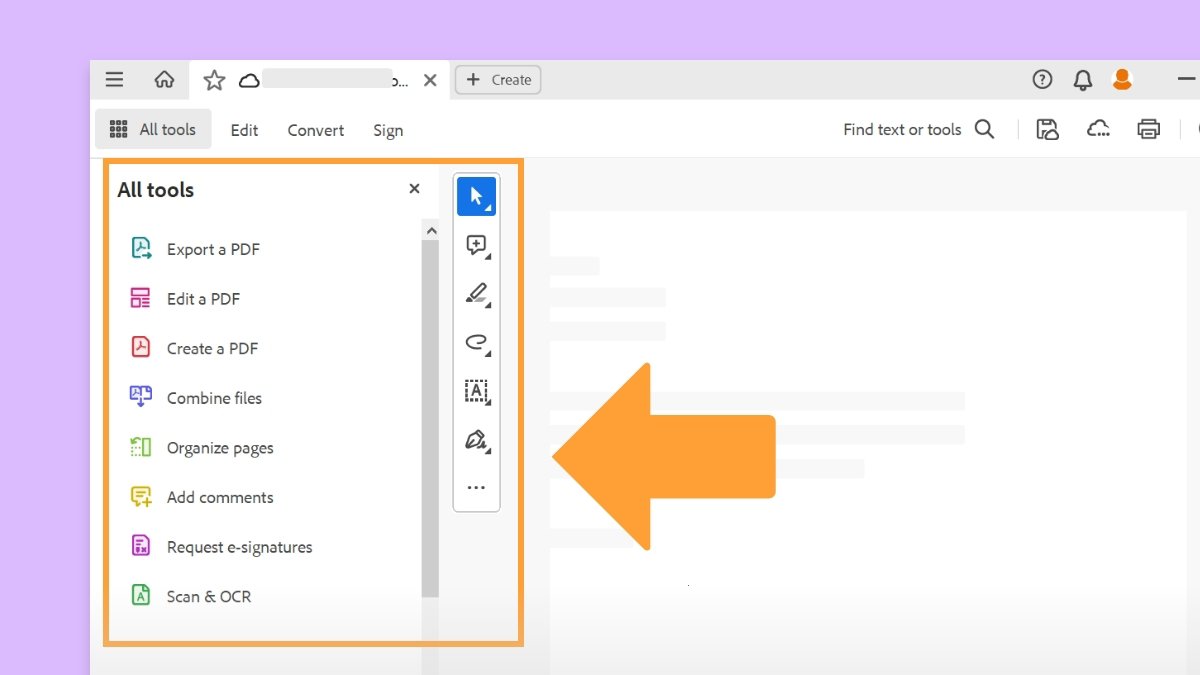
We're rolling out a new, more intuitive product experience. If the screen shown here doesn’t match your product interface, select help for your current experience.
Before you begin
We're rolling out a new, more intuitive product experience. If the screen shown here doesn’t match your product interface, select help for your current experience.


Brand your emails and recipient experiences with your logo and customize the signing URL to reflect your domain, so your signers know the agreement is from you.
To access branding controls, do one of the following:


An account admin can upload an image to display instead of the default Adobe Acrobat Sign logo. This image appears in the upper-left corner of the screen for all the users in your account when they are logged in.
Select the Add e-sign branding tool as explained earlier.
The page refreshes to show the Brand Settings page for your Acrobat Sign account.


Click Save.
Your logo will now appear for all of your users.


To remove the logo, select the Clear logo link and Save the change. The logo is removed without further challenge.
Select the Add e-sign branding tool as explained earlier.
The page refreshes to show the Brand Settings page for your account.
In the input field for Customize agreement URL, enter the custom branding/value you want to insert into your Acrobat Sign URLs.


Click Save.
Your signing URLs will now include your brand.
The Company name is a property in each user's profile that may be required during the signature process for some agreements. For consistency across all users, you can set all users to adopt the displayed Company name by checking the Set company name for all users in account checkbox and Saving the configuration.
All users in the account are updated immediately.


Work smarter with Acrobat on your desktop
Create, edit, and organize PDFs with powerful tools that help you stay productive anywhere.