- After Effects User Guide
- Beta releases
- Getting started
- Workspaces
- Projects and compositions
- Importing footage
- Preparing and importing still images
- Importing from After Effects and Adobe Premiere Pro
- Importing and interpreting video and audio
- Preparing and importing 3D image files
- Importing and interpreting footage items
- Import SVG files
- Working with footage items
- Detect edit points using Scene Edit Detection
- XMP metadata
- Text and Graphics
- Text
- Motion Graphics
- Work with Motion Graphics templates in After Effects
- Use expressions to create drop-down lists in Motion Graphics templates
- Work with Essential Properties to create Motion Graphics templates
- Replace images and videos in Motion Graphics templates and Essential Properties
- Animate faster and easier using the Properties panel
- Variable Font Axes
- Drawing, Painting, and Paths
- Overview of shape layers, paths, and vector graphics
- Paint tools: Brush, Clone Stamp, and Eraser
- Taper shape strokes
- Shape attributes, paint operations, and path operations for shape layers
- Use Offset Paths shape effect to alter shapes
- Creating shapes
- Create masks
- Remove objects from your videos with the Content-Aware Fill panel
- Roto Brush and Refine Matte
- Create Nulls for Positional Properties and Paths
- Layers, Markers, and Camera
- Animation, Keyframes, Motion Tracking, and Keying
- Animation
- Keyframe
- Motion tracking
- Keying
- Transparency and Compositing
- Adjusting color
- Effects and Animation Presets
- Effects and animation presets overview
- Effect list
- Effect Manager
- Simulation effects
- Stylize effects
- Audio effects
- Distort effects
- Perspective effects
- Channel effects
- Generate effects
- Time effects
- Transition effects
- The Rolling Shutter Repair effect
- Blur and Sharpen effects
- 3D Channel effects
- Utility effects
- Matte effects
- Noise and Grain effects
- Detail-preserving Upscale effect
- Obsolete effects
- Cycore plugins
- Expressions and Automation
- Expressions
- Expression basics
- Understanding the expression language
- Using expression controls
- Syntax differences between the JavaScript and Legacy ExtendScript expression engines
- Editing expressions
- Expression errors
- Using the Expressions editor
- Use expressions to edit and access text properties
- Expression language reference
- Expression examples
- Automation
- Expressions
- Immersive video, VR, and 3D
- Construct VR environments in After Effects
- Apply immersive video effects
- Compositing tools for VR/360 videos
- Advanced 3D Renderer
- Import and add 3D models to your composition
- Import 3D models from Creative Cloud Libraries
- Create parametric meshes
- Image-Based Lighting
- Animated Environment Lights
- Enable lights to cast shadows
- Extract and animate lights and cameras from 3D models
- Tracking 3D camera movement
- Adjust Default Camera Settings for 3D compositions
- Cast and accept shadows
- Embedded 3D model animations
- Shadow Catcher
- 3D depth data extraction
- Modify materials properties of a 3D layer
- Apply Substance 3D materials
- Work in 3D Design Space
- 3D Transform Gizmos
- Single 3D Gizmo for multiple 3D layers
- Do more with 3D animation
- Preview changes to 3D designs real time with the Mercury 3D engine
- Add responsive design to your graphics
- Views and Previews
- Rendering and Exporting
- Basics of rendering and exporting
- H.264 Encoding in After Effects
- Export an After Effects project as an Adobe Premiere Pro project
- Converting movies
- Multi-frame rendering
- Automated rendering and network rendering
- Rendering and exporting still images and still-image sequences
- Using the GoPro CineForm codec in After Effects
- Working with other applications
- Collaboration: Frame.io, and Team Projects
- Memory, storage, performance
- Knowledge Base
Learn about the various Cycore plugin effects and discover how this collection of professional effects can enhance your After Effects projects.
Adobe After Effects includes a set of built-in effects from the Cycore (CC) plugin suite, commonly known as CC effects. These effects are integrated into After Effects and come pre-installed with the software.
CC effects are designed to enhance your projects with a wide range of creative visual effects. They span several categories, including 3D simulation, stylized looks, motion graphics, and more. By using CC effects, you can significantly improve the visual appeal of your projects while simplifying their complexity. Each effect is adjustable through the Effect Controls panel, allowing easy customization to suit your needs.
- To view all Cycore plugin effects, open the Effects & Presets panel and search for effects using the keyword 'CC'.
- You can also use the information icon next to the effects in the Effects & Presets panel to learn more about it.
Blur & Sharpen effects help adjust how clear or focused an image or video looks. You can use them on individual layers, clips, or full compositions to fix focus problems or add creative touches.
Blur effects are used to soften images, show motion (like motion blur), or highlight a subject by making the background less noticeable. Sharpen effects make edges and details stand out more.
You can access different types of Blur & Sharpen effects from the Effects panel, each with its own unique set of adjustable settings to suit your composition needs.
- CC Cross Blur: Blurs the image in both horizontal and vertical directions, which can be useful for softening footage.
- CC Radial Blur: Blurs along the direction of motion, which can create interesting artistic effects.
- CC Radial Fast Blur: Blur that is optimized for speed. It renders faster than CC Radial Blur.
- CC Vector Blur: Blurs along the direction of motion, which can create interesting artistic effects.
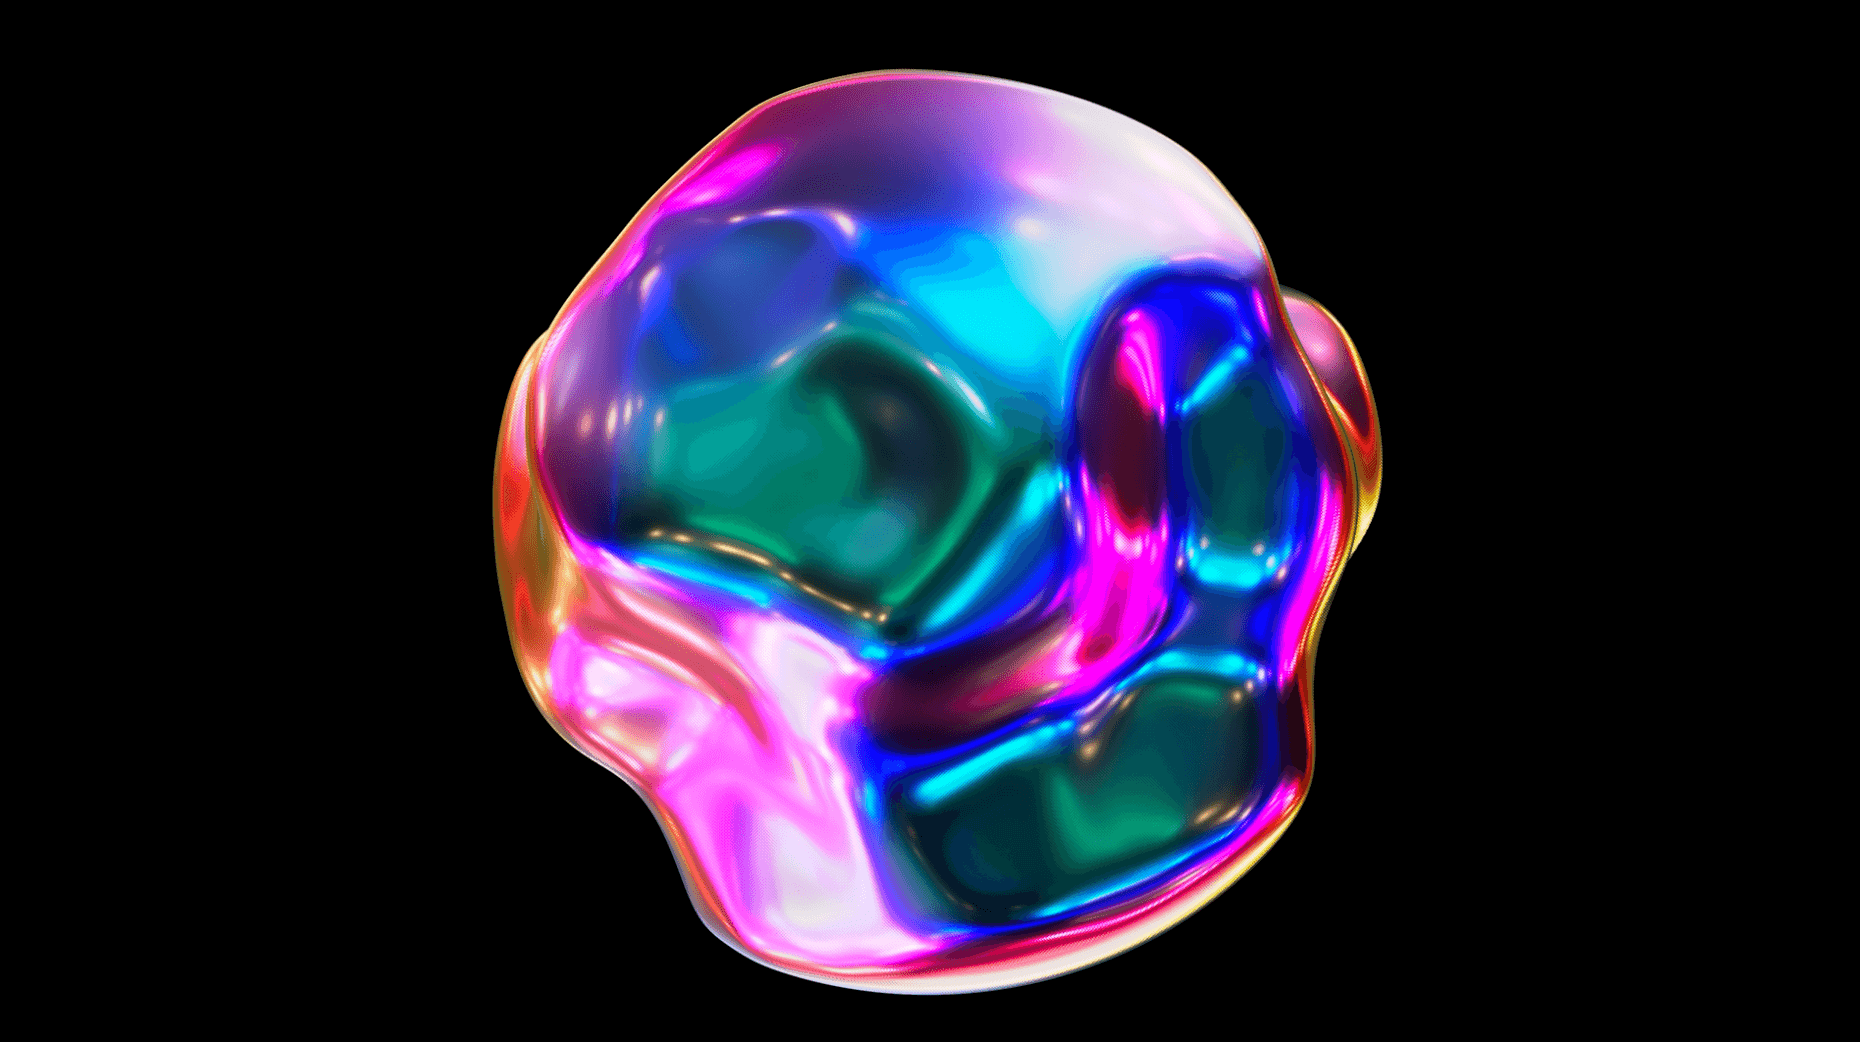
An example where CC Radial Fast Blur is applied and the Amount setting is adjusted to more than 20.
CC Composite under the Channel effects lets you blend layers more flexibly. This is useful when working with multiple layers, as it helps you control how they appear together, such as using masks and transitions or deciding how they combine visually.

An example where the CC Composite effect is applied to a text layer, creating a mask that reveals the layer at the bottom of the composition.
The effects under Color Correction help you adjust the colors and tones in your footage. They let you fix color issues, improve contrast, change colors, or match color grading.
- CC Color Neutralizer: Adjust red, green, and blue colors of a layer separately to fix or change its overall color.
- CC Color Offset: Shift the red, green, and blue channels to create interesting color effects or distortions.
- CC Kernel: Change how pixels interact with nearby pixels to create effects like blur or pixelation.
- CC Toner: Add a color tint by adjusting the shadows, midtones, and highlights of a layer.

An example is when the CC Color Offset effect is applied to a layer, and the Red Phase is adjusted to enhance or emphasize red hues, giving the video image a warmer tone.
The Distortion effects let you reshape layers using techniques such as smearing, twisting, and stretching. The controls give you options to transform the look of your footage and achieve unique visual results.
- CC Bend It: Flex a layer between two defined points, mimicking the natural bend of a rod or stick.
- CC Bender: Curve a layer along its vertical axis using a single control point for a smooth, arch-like distortion.
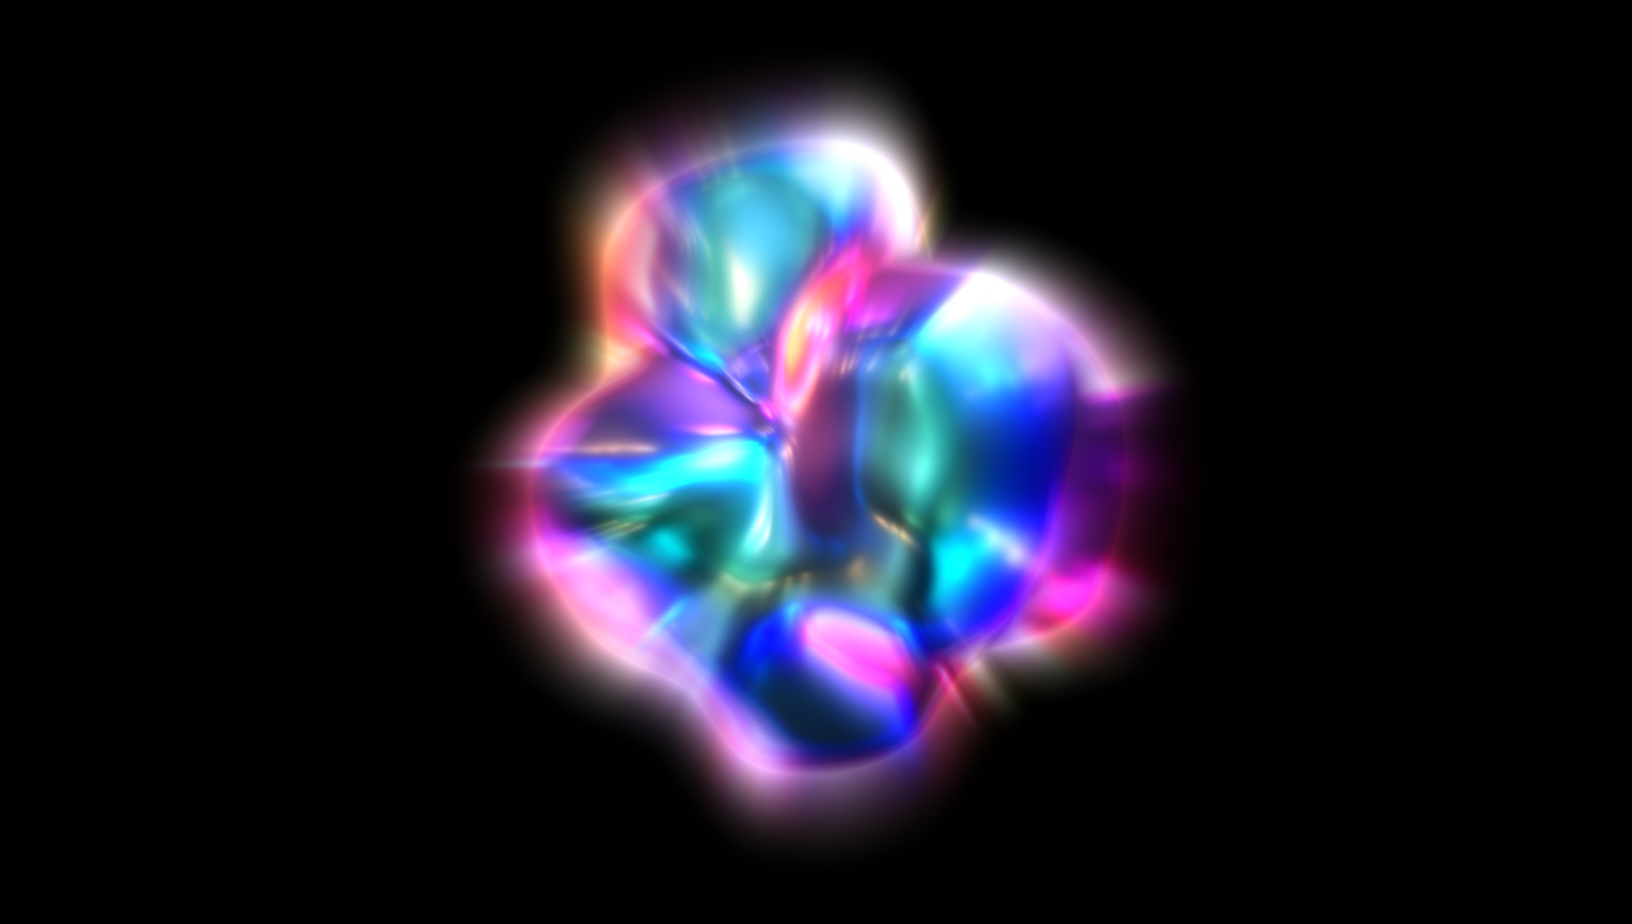
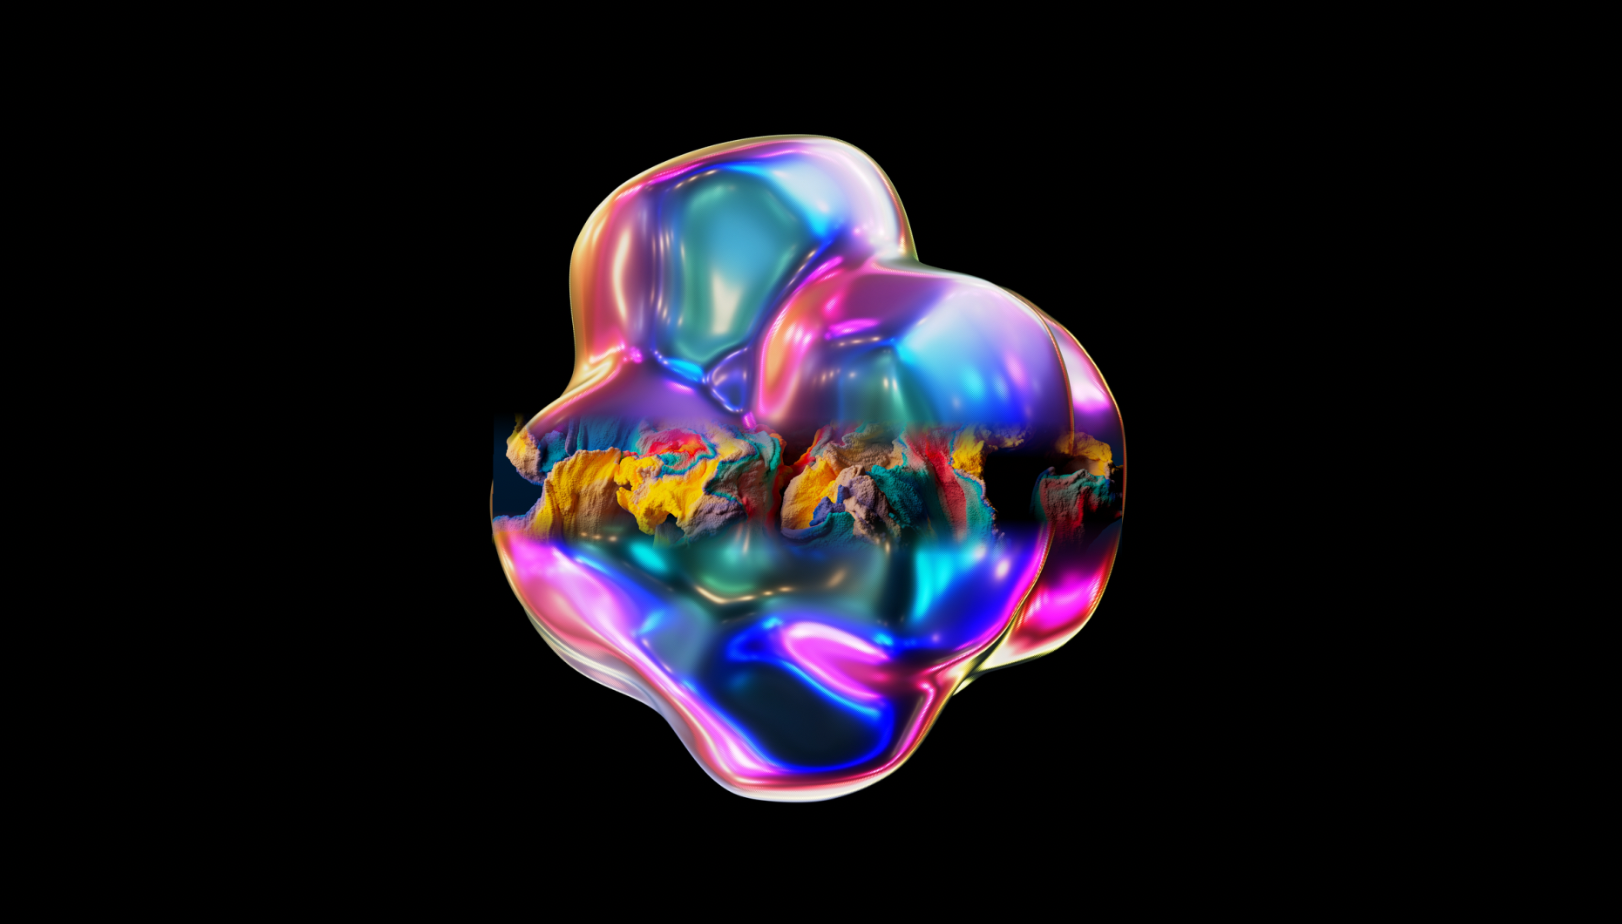
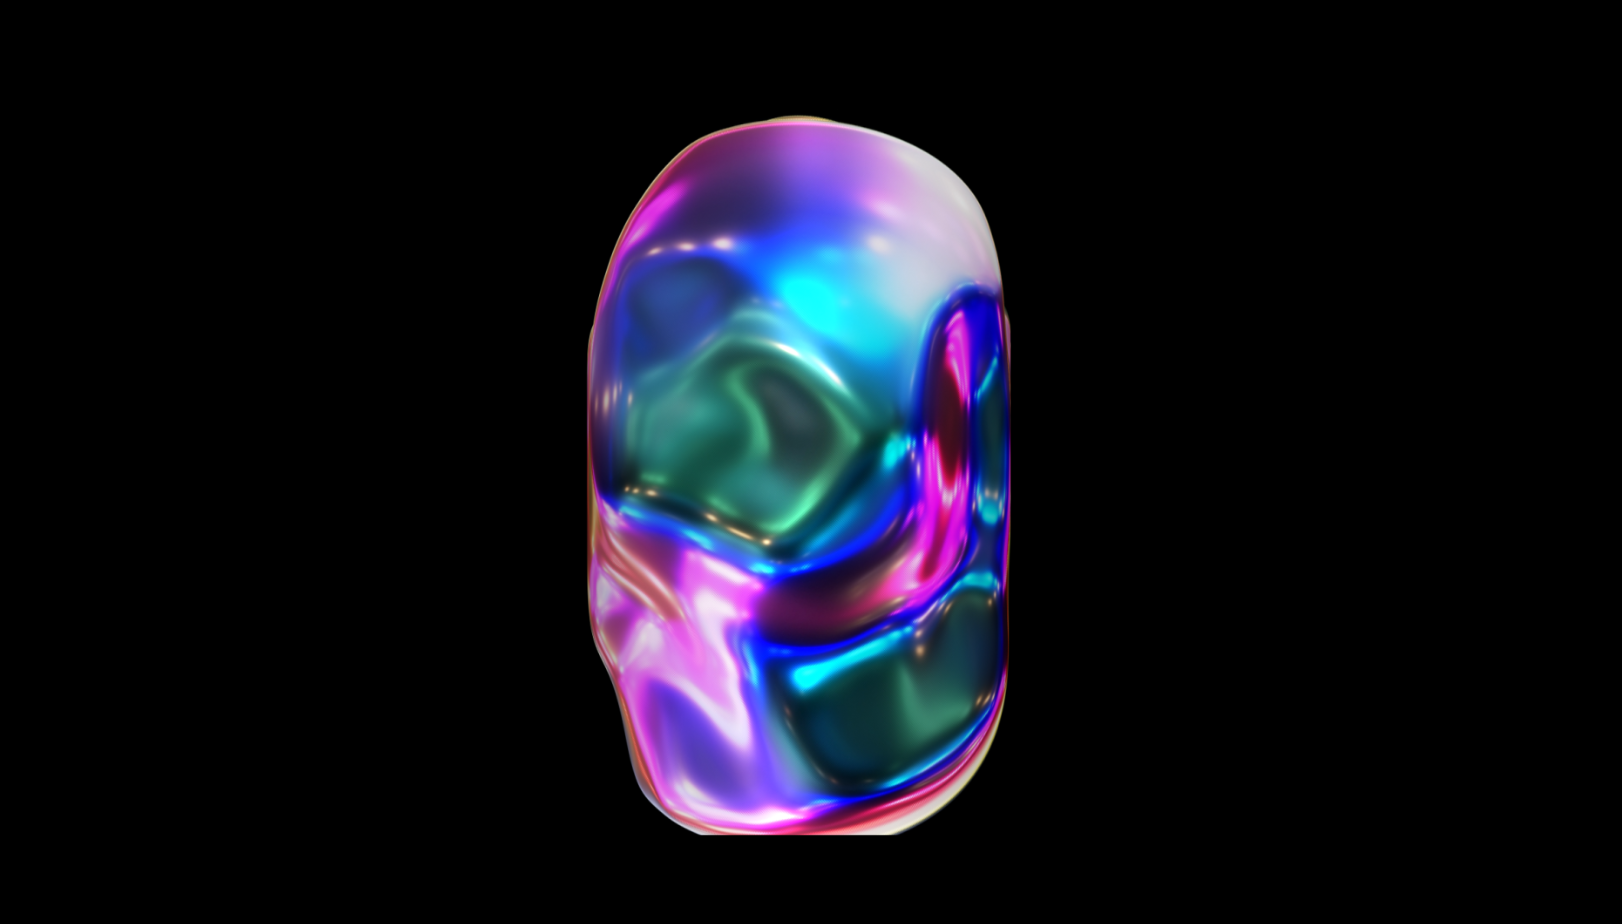
- CC Blobbylize: Transform a layer to give the layer a soft, fluid quality, simulating a jelly-like or liquid effect.
- CC Flo Motion: Distort a layer with a smooth, mesh-based warp using two sets of control points.
- CC Griddler: Cut the layer into grid-like patterns.
- CC Lens: Simulate a fisheye lens effect, distorting the layer outward from a central point.
- CC Page Turn: Animate a realistic page curl or flip, as if turning a sheet of paper.
- CC Power Pin: Anchor and stretch a layer by pinning its four corners, allowing for perspective and shape manipulation.
- CC Ripple Pulse: Create ripple waves in circles from the center, like when a drop falls into water.
- CC Slant: Skew the layer diagonally in a chosen direction to create a slanted appearance.
- CC Smear: Drag or stretch part of a layer between two points, creating a smeared or pulled effect.
- CC Split: Split the layer down the middle and move the parts to different directions.
- CC Split 2: An enhanced version of CC Split, offering additional controls like angle and edge softness.
- CC Tiler: Repeat the layer across the composition to create a tiled pattern.

An example where CC Smear is applied with adjusted Reach and Radius values, with Tip Type selected as Round.
The CC Generate effects are often used to create visual elements such as textures, gradients, and color fields.
- CC Glue Gun: Add to mimic the look and behavior of hot glue as it’s applied and dries, highlighting visual effects like dripping, flowing, and trailing.
- CC Light Burst 2.5: Make elements emit a burst of light from a single point, resembling a flash or lens flare.
- CC Light Rays: Create beams of light radiating from a source, mimicking sunlight or spotlights.
- CC Light Sweep: Add a shimmering light streak that moves across surfaces, which is ideal for highlighting text or objects.
- CC Threads: Generate twisting, flowing strands or fibers, perfect for abstract visuals and dynamic motion designs.
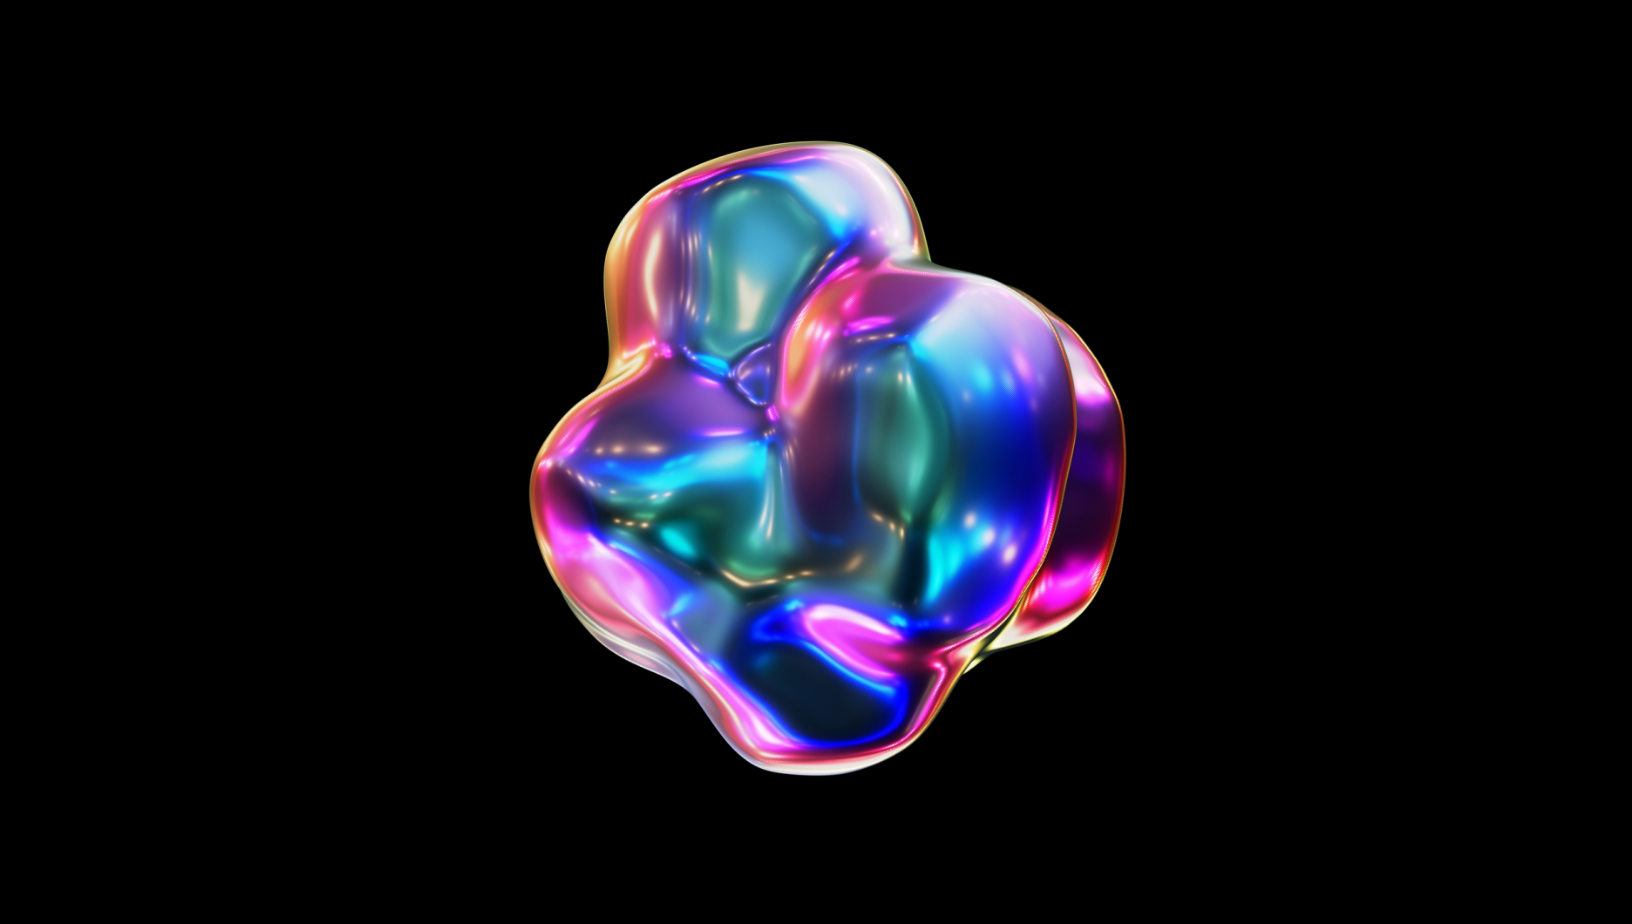
An example where CC Light Burst 2.5 is applied with default settings in the Effect Controls panel.
The Simple Wire Removal effect helps remove unwanted items like wires or small objects from your video. You can use the effect's controls to paint over the object, and it blends with the surrounding area. It's especially useful for steady shots where the object stays consistent in the frame.
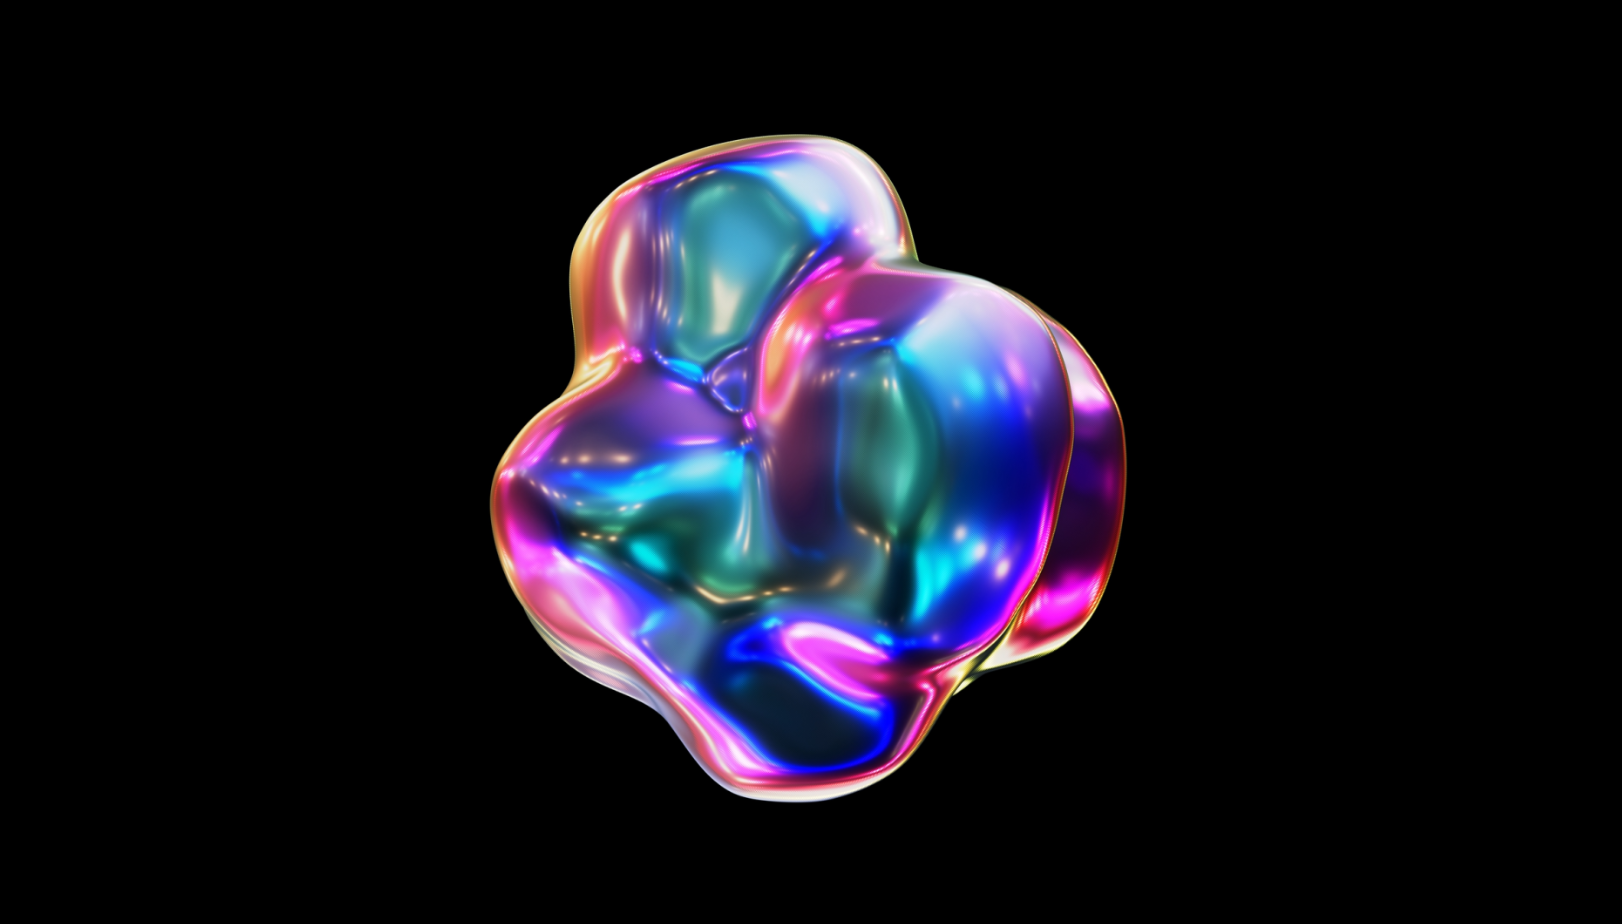
An example of the CC Simple Wire Removal effect in After Effects, where a horizontal line is defined using Point A and Point B, with a thickness of 100 and the Removal Style set to Fade, is used to remove a highlighted area, revealing the underlying layer.
The CC Perspective effects allow you to simulate 3D depth by tilting and rotating 2D layers, giving them a more dynamic, spatial look. It’s a handy tool for creating the illusion of depth without converting layers to 3D ones.
- CC Cylinder: Wrap a layer around a 3D cylindrical surface.
- CC Environment: Create a reflective, spherical environment map that can be used to simulate reflections on 3D objects.
- CC Sphere: Turns a layer (like an image or video) into a 3D sphere
- CC Spotlight: Create a lighting effect that simulates the appearance of a spotlight shining on a layer, giving it a 3D-like appearance.
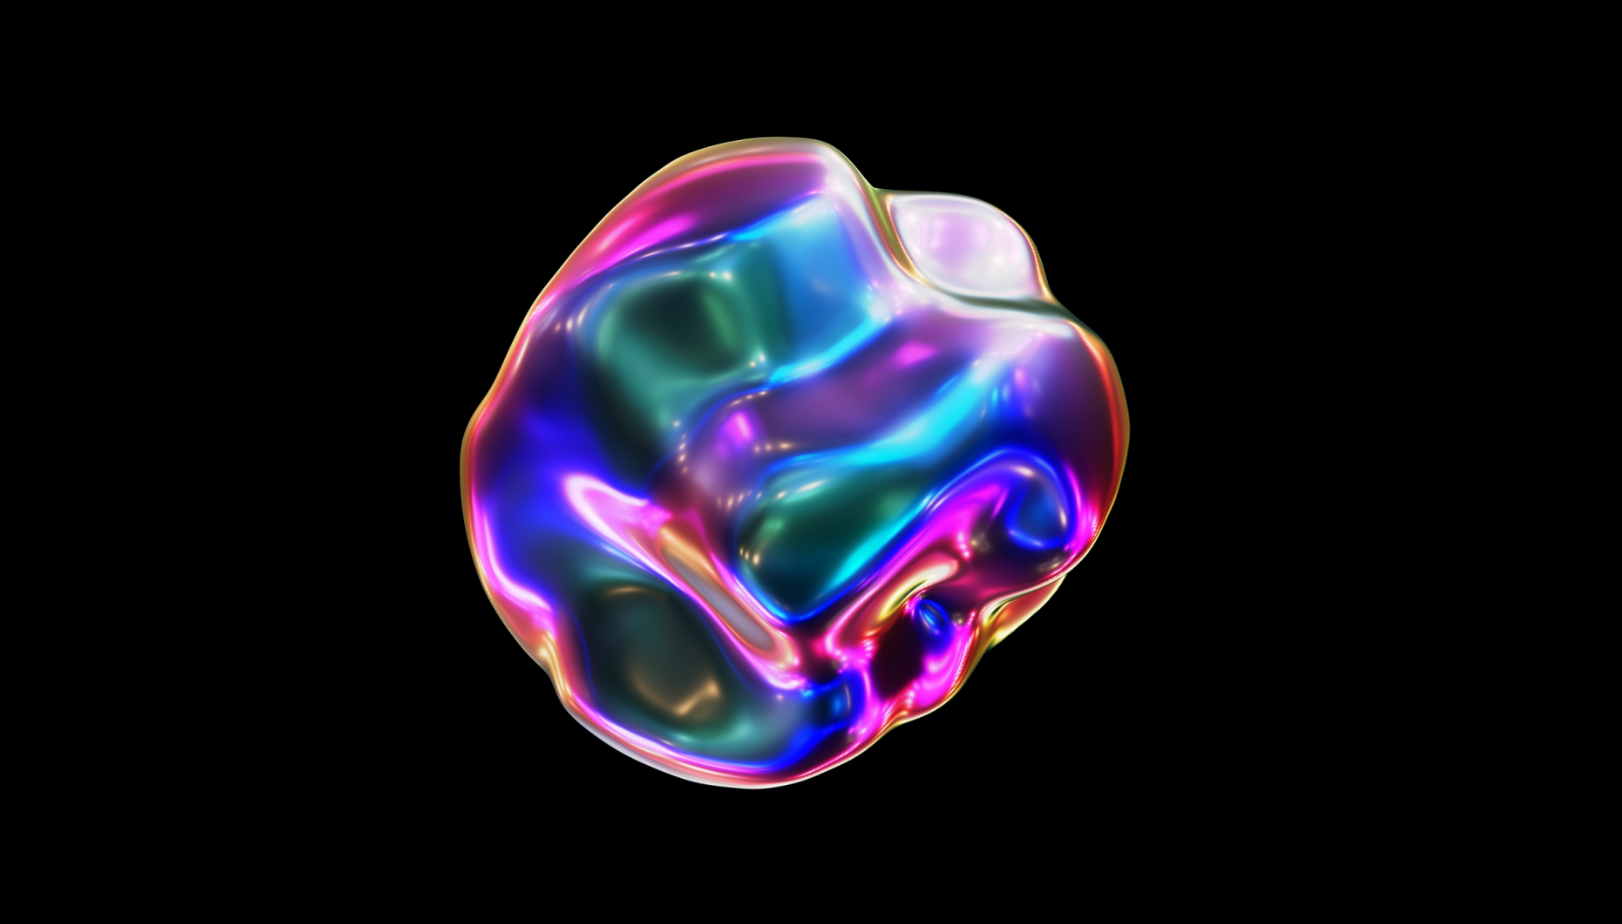
An example of the CC Cylinder effect applied with the default Radius value and adjusted Light Height and Light Direction.
CC Simulation effects let you add realistic elements like storms, fire, or smoke to your scenes. They help create a more immersive atmosphere with natural-looking, animated effects.
- CC Bubbles: Create the look of bubbles rising through water, perfect for underwater scenes or a glass of soda.
- CC Drizzle: Add a light rain effect, like a gentle drizzle falling across the composition.
- CC Hair: Simulate strands like hair, threads, or fibers that move naturally with wind or motion.
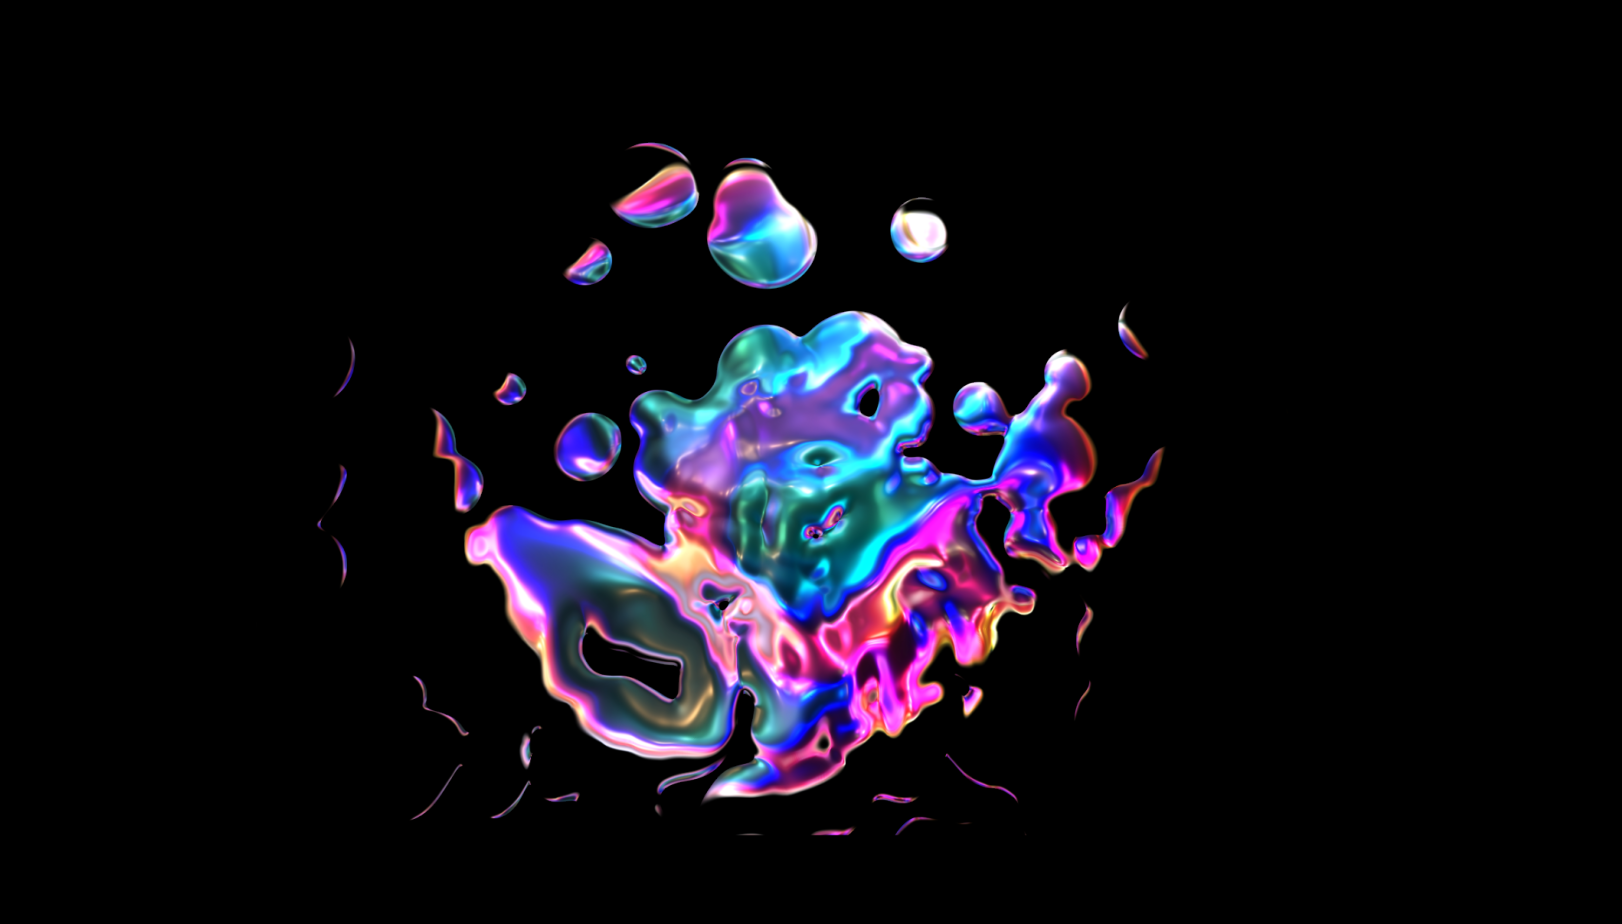
- CC Mr. Mercury: Produces a flowing, dripping liquid effect that looks like mercury or other thick fluids.
- CC Particle Systems II: Create effects like fire, smoke, explosions, or dust using particles.
- CC Particle World: Add particle-based effects where particles move freely in 3D space with customizable particle properties, such as color, speed, and size.
- CC Pixel Polly: Break a layer into tiny pieces or pixels, making it look like it’s disintegrating.
- CC Rainfall: Add a falling rain effect, with drops coming down from the top of the composition.
- CC Scatterize: Break a layer into smaller fragments and scatter them randomly within a defined area.
- CC Snowfall: Add a snow effect with flakes gently falling from above, like a winter scene.
- CC Star Burst: Shoot particles outward from a center point, like the start of an explosion or energy blast.

An example of the CC Mr. Mercury effect applied with adjusted Radius X, Radius X, and Velocity values, with the Animation options selected as Explosive.
The CC Stylize effects let you add artistic and creative styles to your footage or compositions. They offer unique, non-realistic visual treatments that bring dramatic flair and distinctive transformations to your compositions.
- CC Block Load: Create a pixelated or grid-style transition by simulating an image loading in large, blocky segments.
- CC Burn Film: Add a vintage film look with burn marks and scratches, mimicking old or damaged footage.
- CC Glass: Distort the image or video to mimic light bending through glass, giving a textured, refracted appearance.
- CC HexTile: Break the image or video into hexagon-shaped tiles, like a honeycomb pattern.
- CC Kaleida: Transform your footage by duplicating and reflecting sections to produce symmetrical patterns similar to a kaleidoscope.
- CC Mr. Smoothie: Soften sharp edges for a smoother, more stylized look while keeping the overall shape.
- CC Plastic: Add a shiny, glossy look, similar to plastic surfaces.
- CC RepeTile: Repeat the image or video in a tiled grid, creating a pattern of multiple copies.
- CC Threshold: Convert the image or video to high-contrast black and white.
- CC Threshold RGB: Similar to CC Threshold, but applies the effect separately to the Red, Green, and Blue channels for a more colorful result.
- CC Vignette: Darken or lighten the edges of the image or video to draw attention toward the center of the composition.

An example of the CC Mr. Smoothie effect applied with the Property option selected as Luminance and Smoothness value set to 46.
CC Time Effects lets you change how time works in a video. You can add delays, stretch the timing to make things move slower or faster, or warp time to create more complex motion effects.
- CC Force Motion Blur: Add motion blur to a layer, helping to blur moving objects and make motion appear more natural and realistic, especially during fast movements.
- CC Wide Time: Apply a blending effect to merge multiple frames, creating a motion blur that mimics a ghostly trail.

An example of the CC Wide Time effect applied with the Forward Steps option's value set to 124.
The CC Transition effects in After Effects help create smooth and creative transitions between clips. They include effects like dissolves, wipes, and slides, allowing you to move from one scene to another with added style and visual interest.
- CC Glass Wipe: Add a transition that stimulates streak or smudge being cleared away, revealing the next clip underneath.
- CC Grid Wipe: Add a transition to add a grid pattern that gradually uncovers the following clip or image.
- CC Image Wipe: Add a transition that uses an image or texture as a mask to wipe across the screen, revealing the layer underneath.
- CC Jaws: Add a transition that simulates a chomping effect—like a giant mouth with sharp teeth "eating" the current scene to reveal the next.
- CC Light Wipe: Use a light source that sweeps across the screen, wiping away the current scene and showing the next one.
- CC Line Sweep: Use a moving single line that moves across the screen, gradually revealing the next clip behind it.
- CC Radial ScaleWipe: Add a transition that wipes the scene with a zooming effect that starts from the center or edge, scaling into the next scene.
- CC Scale Wipe: Add a transition that combines a swipe and zoom effect to smoothly scale into the next scene.
- CC Twister: Add a swirling, twisting motion that distorts the current scene as it transitions into the next.
- CC WarpoMatic: Add a stretchy warp effect that bends and distorts the current scene as it transforms into the next one.
The Utility effect provides a range of effects such as combining multiple layers or elements, adjusting brightness and contrast, and fine-tuning color balance, among others.
- CC Overbright: Apply an effect that boosts the brightness of highlight areas, producing an overexposed or glowing look while keeping mid tones and shadows unchanged.
