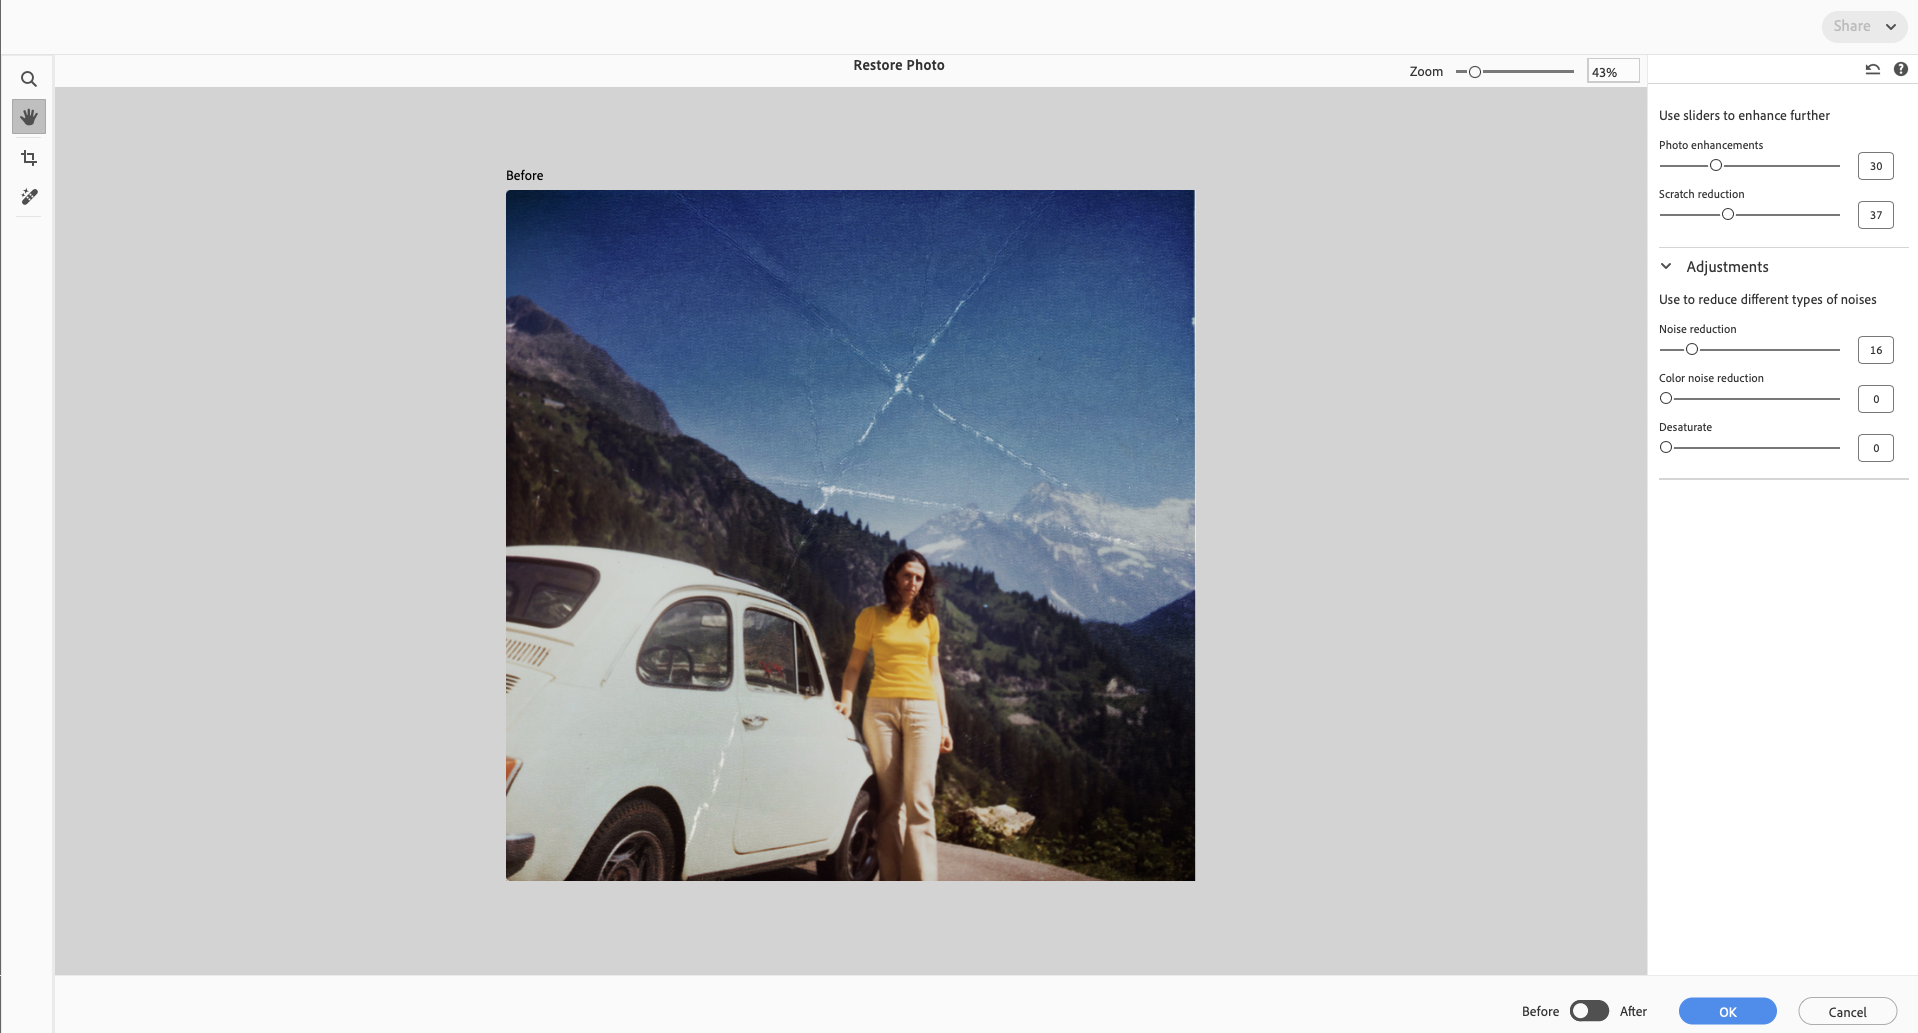
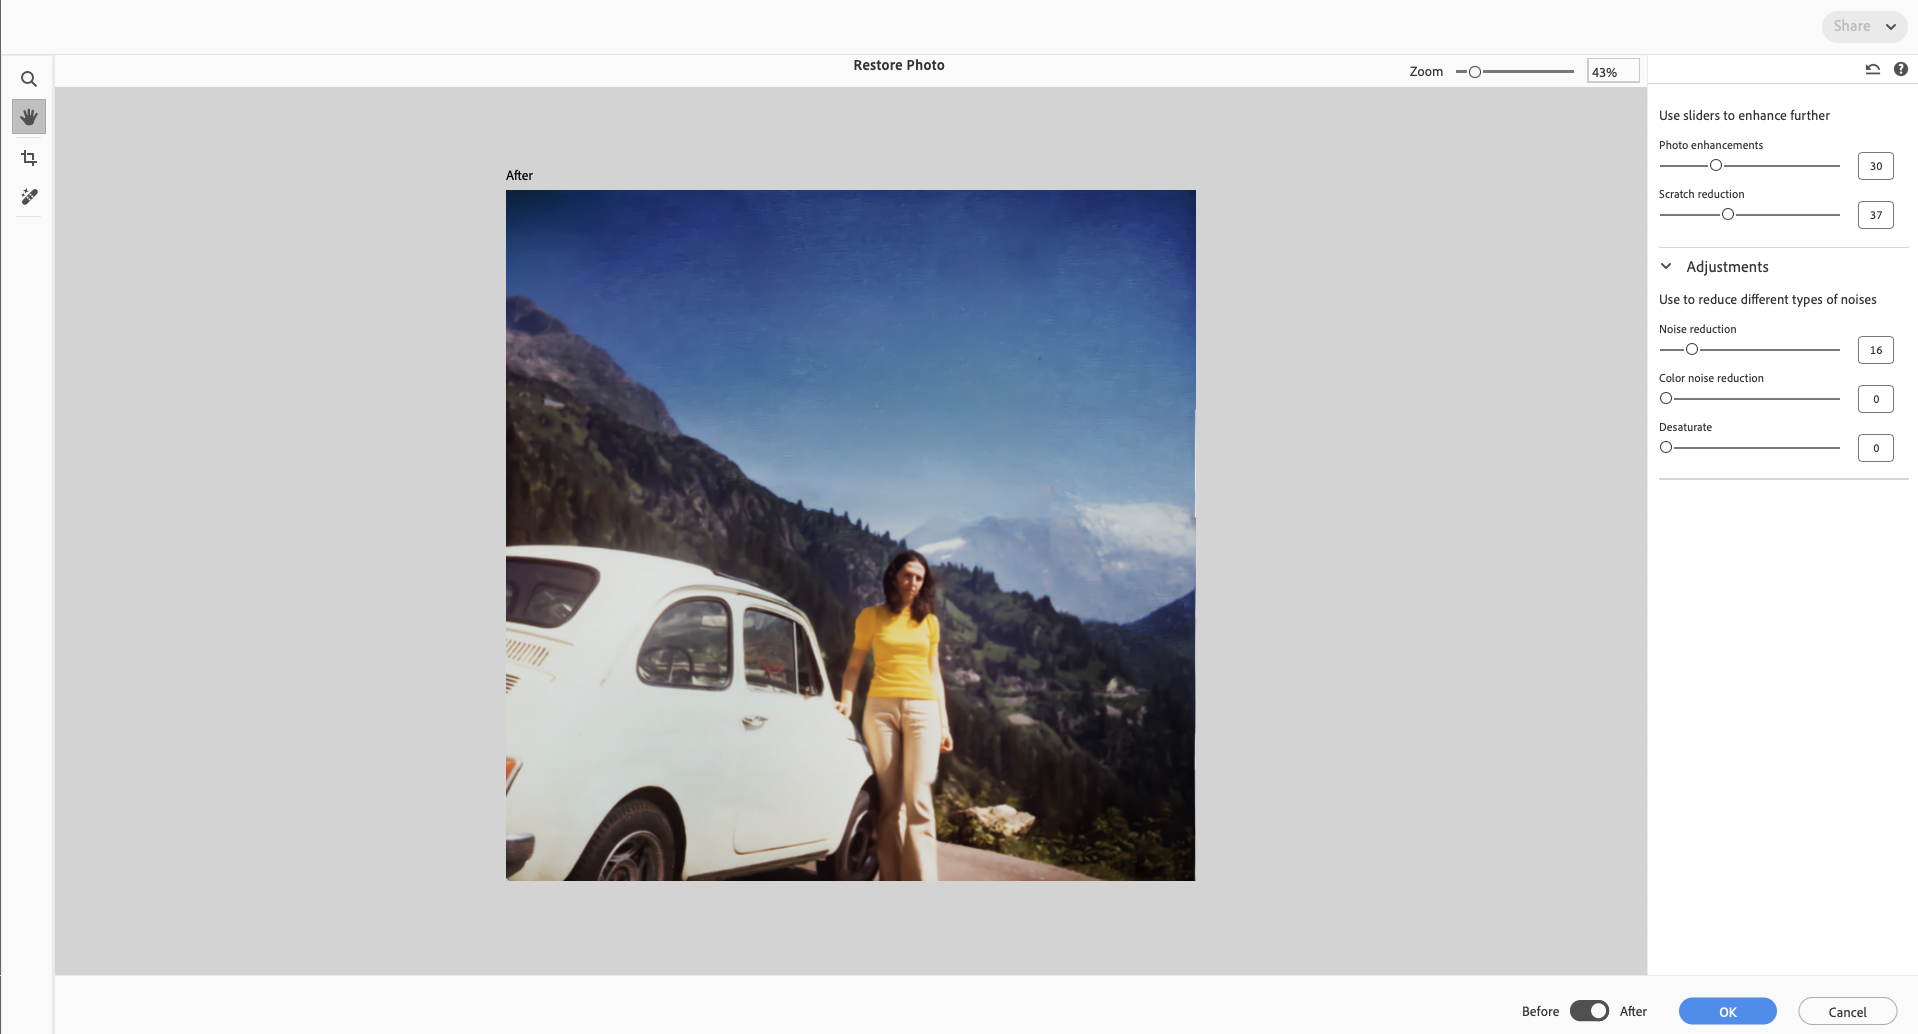
Open your scanned or damaged photo in Photoshop Elements.
- Get to know Photoshop Elements
- Photoshop Elements User Guide
- Introduction to Photoshop Elements
- Workspace and environment
- Get to know the Home screen
- Workspace basics
- Preferences
- Tools
- Contextual task bar
- Panels and bins
- Open files
- Rulers, grids, and guides
- Enhanced Quick Mode
- File information
- Presets and libraries
- Multitouch support
- Scratch disks, plug-ins, and application updates
- Undo, redo, and cancel actions
- Viewing images
- Importing Files
- Fixing and enhancing photos
- Resize images
- Cropping
- Process camera raw image files
- Add blur, replace colors, and clone image areas
- Adjust shadows and light
- Retouch and correct photos
- Restore Photos
- Combine Photos
- Sharpen photos
- Transforming
- Auto Smart Tone
- Recomposing
- Using actions to process photos
- Photomerge Compose
- Create a panorama
- Moving Overlays
- Moving Elements
- Moving Photos
- Adding shapes and text
- Quick Actions
- Generative AI
- Guided edits, effects, and filters
- Guided mode
- Filters
- Guided mode Photomerge edits
- Guided mode Basic edits
- Adjustment filters
- Effects
- Guided mode Fun edits
- Guided mode Special edits
- Artistic filters
- Guided mode Color edits
- Guided mode Black & White edits
- Blur filters
- Brush Stroke filters
- Distort filters
- Other filters
- Noise filters
- Render filters
- Sketch filters
- Stylize filters
- Texture filters
- Pixelate filters
- Working with colors
- Working with selections
- Working with layers
- Creating photo projects
- Saving, printing, and sharing photos
- Keyboard shortcuts
- Keys for selecting tools
- Keys for selecting and moving objects
- Keys for the Layers panel
- Keys for showing or hiding panels (expert mode)
- Keys for painting and brushes
- Keys for using text
- Keys for the Liquify filter
- Keys for transforming selections
- Keys for the Color Swatches panel
- Keys for the Camera Raw dialog box
- Keys for the Filter Gallery
- Keys for using blending modes
- Keys for viewing images (expertmode)
Restore Photo
Bring damaged photos back to life with a click. The AI-powered Restore Photo revives old, faded, or scratched images with incredible accuracy. It detects and removes noise, enhances contrast, fills cracks, and brings lost details back. It’s a dream come true for digitizing family albums and vintage prints.

To restore a damaged photo:
-
-
Select Enhance > Restore Photo...
-
The AI-powered restoration feature automatically applies adjustments to restore your photo.
-
Use the tools in the toolbar on the left to Zoom, Crop, move with Hand tool and remove small spots with the Remove tool.
-
Use sliders in the right panel to enhance and reduce noise.
The Enhance Face slider becomes available when a face is detected. -
Click OK to continue editing in Quick or Advanced room.
If you restored a black & white photo, use the AI-powered ‘Color B&W Photo’ quick action to add colors after restoration. To learn more, click here.
Try it in the app
Quickly erase unwanted objects from your photos in Photoshop Elements
TALK TO US


If you have questions about working with Photo Restoration using AI in Photoshop Elements, reach out to us in our Photoshop Elements community. We would love to help.


