- Substance 3D home
- Welcome to Dimension
- Getting Started
- Activation and licenses
- System requirements
- Accessibility
- Shortcuts
- Glossary
- Viewport navigation
- Supported formats
- Frequently asked questions
- Dimension 4.0
- Interface
- Objects
- Using Dimension
- Features
- Common issues
- Release notes
Rendering system
Dimension is a staging application. The most common need to stage a scene is to produce an image from it, which is done through rendering. Dimension integrates Adobe Mercury Rendering Engine, a mixed-technique renderer, which lets you switch between ray tracing and real-time with shared render settings without having to change your scene setup.
Real time rendering
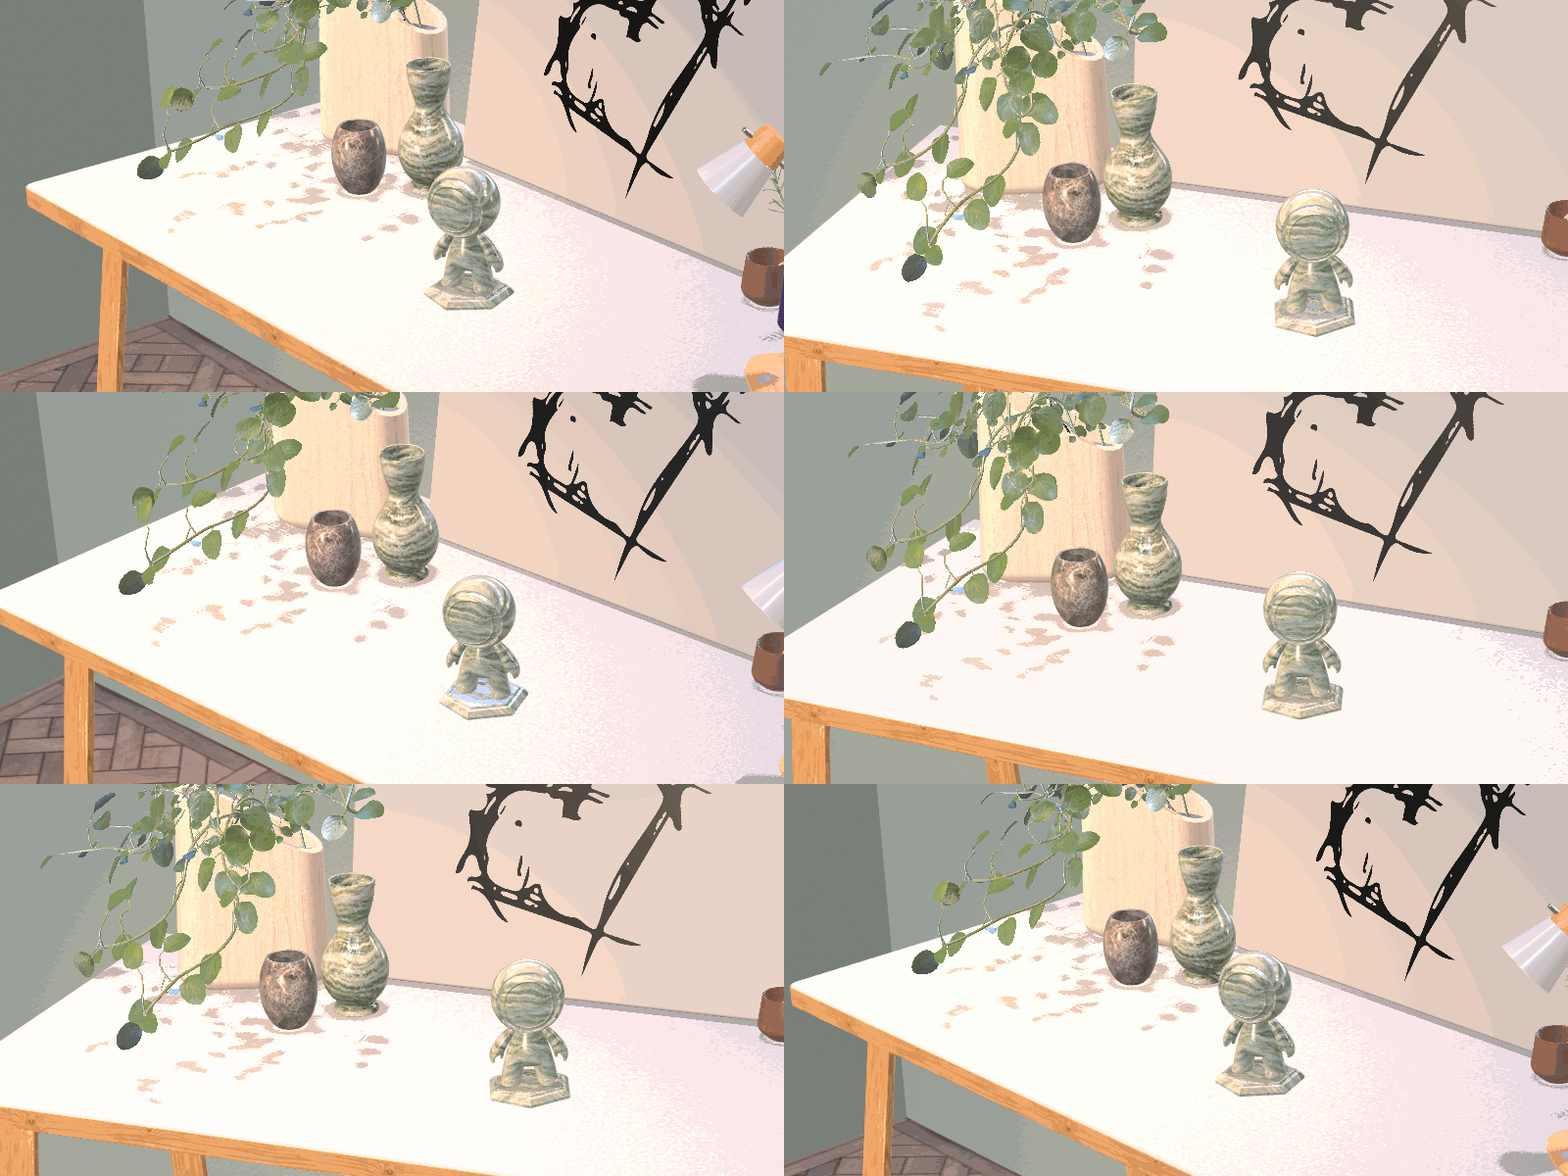
Real time rendering focuses on keeping interactive frame rates while still achieving the best look possible.


Ray tracing
Ray tracing is a rendering technique which uses its namesake technique to shoot light rays through the scene. The rays of light interact with objects and materials, then bounce to the camera lens. This mimics what happens in the real world with the lenses of physical cameras. Ray tracing provides more information to create realistic shadows, reflections, and translucency.
Dimension supports ray tracing on both CPU (Mac and Win) and GPU (Win only).
See the technical requirements for more information.


Design mode
Design mode is where you do the majority of your editing. Here you can add content, arrange it, edit properties, and set up your compositions. In design mode the rendering system constantly updates the viewport.
Use render using ray tracing from the viewport control bar to quickly toggle ray tracing.
Default shortcut: \


Render mode
Render mode is where you can export final quality rendered images.


Export Settings panel
Use the Export Settings panel to configure what will be rendered and the format it will be exported in.


Camera Selection
A list of cameras to render. If no camera objects are available this section will be hidden and the viewport camera will be rendered instead.
Override camera size
Sets all cameras to render at a specific size.
When off, cameras will render using their size (set in Properties > Camera > Size).
Export file name
Set the name of the file to be rendered. If rendering multiple cameras, the camera name will be added as a suffix for each file.
Export format
The format for the rendered image(s) to be saved in.
PSD: Provides render layers for additional compositing and post editing flexibility.
PNG: Final image only with no render layers.
Save to
The location the exported file(s) will be saved.
Render Status panel
Use the Render Status panel to track which the progress of a render. The active render also has some additional actions.
Snapshot: Save a copy of the render at it's current progress.
Cancel: Cancel a specific render from the queue.
Edit render settings
The Render Settings panel can be opened from the viewport control bar or with the default shortcut \. Here you'll find all of the settings needed to choose the rendering method and control the quality of the resulting image.
Render settings are shared between Design and Render modes.


Real time settings
Anti-aliasing
Smooth pixelated edges on curved and diagonal surfaces.
- Off
- 2X
Shadow mode
Select a method for generating shadows.
- Off
- Raster
Displacement
Render object tessellation and material height information..
Ray tracing settings
Render with GPU
Use GPU for ray racing. GPU ray tracing can be significantly faster. GPU rendering is only supported on Windows devices.
Interactive raytracing
Use raytracing during viewport interactions. When off, the viewport will use realtime rendering during interactions.
Max CPU cores
Limit the number of CPU logical cores to use. This operates based on logical cores for hyperthreading. A value of 0 will be unlimited and use all available logical cores.
Preset
Choose a render setting preset for overall ray tracing quality.
Samples
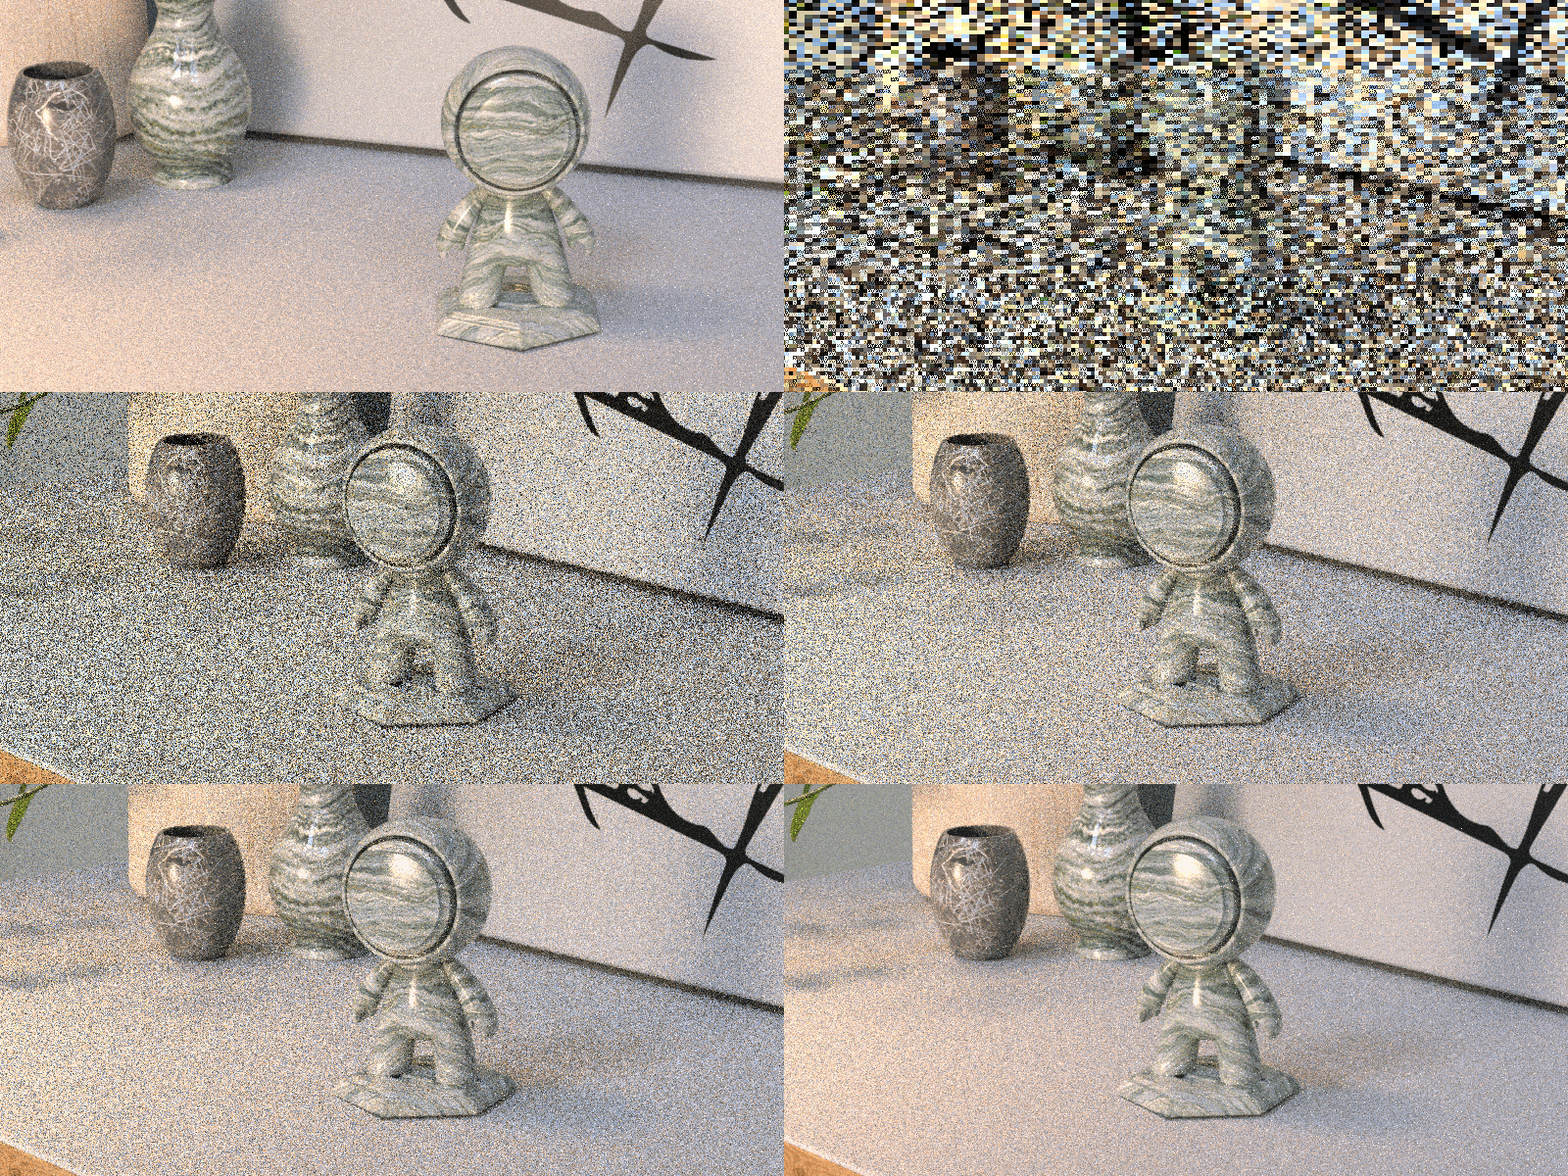
Limit the number of rays per pixel. A higher limit will create less noise at the cost of spending more time. A lower value will result in more noise but take much less time.
Noise level
Set a tolerance for how much noise to permit in the final render. A lower value will create less noise at the cost of spending more time. A higher value will result in more noise but take much less time.
Max time
Limit the maximum time per render in seconds. Rendering will terminate when reaching final quality based on other settings or the max time, whichever occurs first.
Denoise export
Run denoising after rendering is complete. Intelligently denoises based on data from the 3D scene.
Displacement
Determines if object tessellation and material height is rendered as displacement.
Resolution
Set whether to render at full or lower pixel resolution.
- Full: The full pixel resolution.
- 1/2: 4x faster
- 1/4: 8x faster