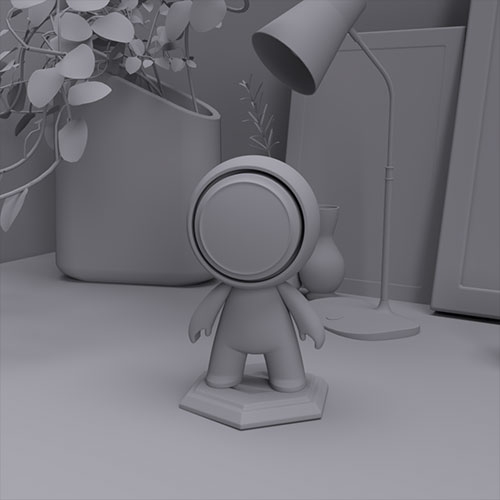
Layout
Positioning 3D objects to create the scene composition.
Layout features are:
Universal transform tool
Collision transformation
Align and Distribute tool
Snapping
For more details, see layout in Stager.
Learn how to build a 3D scene, render it and export it once you are done.
Adobe Substance 3D Stager is an intuitive and powerful design tool for building 3D scenes. Building a 3D scene encompasses a few steps, also known as staging. These steps are layout, texturing, lighting, and framing.
This staging workflow can create a wide variety of projects. Stage virtual photography for products and goods. Visualize interiors or spaces. Create illustrations and brand graphics.
LayoutPositioning 3D objects to create the scene composition. Layout features are:
For more details, see layout in Stager. |
|
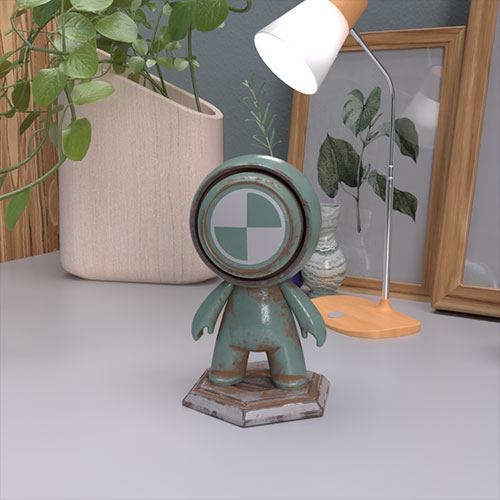
TexturingApplying materials and textures to the objects. Texturing features
For more details, see texturing in Stager. |
|
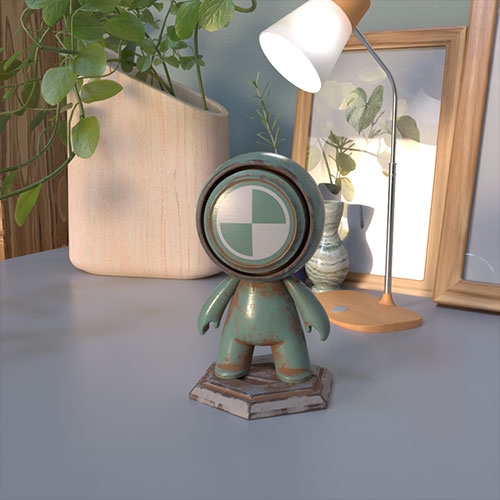
LightingSetting up virtual lights to set the mood, contrast, and focus. Lighting features
For more details, see lighting in Stager. |
|
FramingUsing virtual cameras to set the viewing angle, depth of field, and output ratio. Framing features
For more details, see framing in Stager. |

|
The most common export type is to render the 3D scene data into images. Stager combines real time, interactive, and offline rendering capabilities. Customization of the render engines allows for flexible control over speed and quality. The Adobe Substance apps share physically based rendering engines to ensure consistent results.
Learn more about the render engines and workflow in Stager.

Use Publish to Web to convert your Stager scene into a GLB file.
The published scene will upload to Creative Cloud Files and display in a web 3D viewer.
Share the web link for commenting or embed the viewer into other sites.

For more details, see publishing Stager scenes to web.
Use Send to Aero to export your scene data for use in Adobe Aero. Build interactive experiences in augmented reality, then share them.

Learn more about Adobe Aero.
We've got you covered on how to build your 3D scenes and export it to the format of your choice. Next, you can try to make sure you know about all the specific vocabulary used in the app.
If you have a question to ask, come and participate in the Substance 3D Stager community. We would love to hear from you.
You can also share your ideas of new features with us!

Render photorealistic scenes with Substance 3D Stager
Stage 3D assets, set up lighting, and create stunning virtual photographs.